Sunday, August 10, 2008

Certification complete... GREAT SUCCESS!!

Yesterday's flight went swimmingly well despite the complete lack of water on the lakebed :) All photos ©Jaime Fritsch.

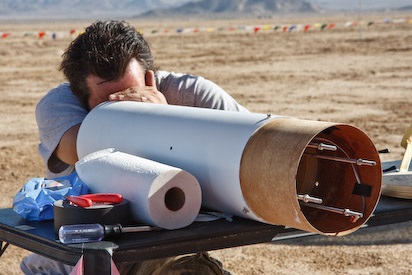
Prepping the recovery system. This was one of Jaime's favorite shots.
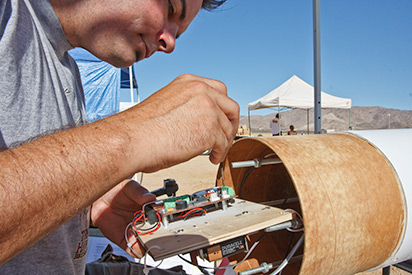
Connecting the electronics board
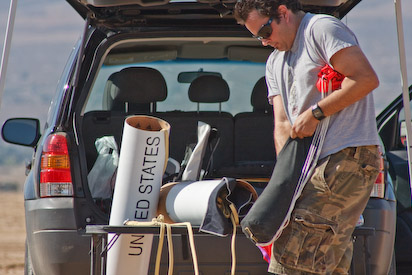
Stuffing the Rocketman 16 foot chute into the deployment bag is much easier than folding. Very cool system
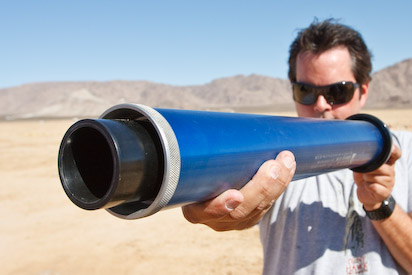
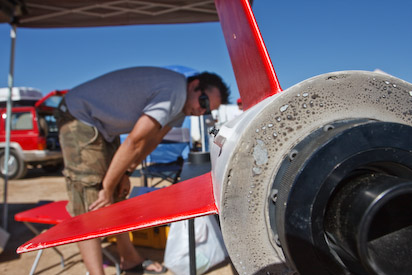
That's a big motor... It's 3" in diameter, almost 2 feet long, and weighs 9 pounds!
Artsy shot
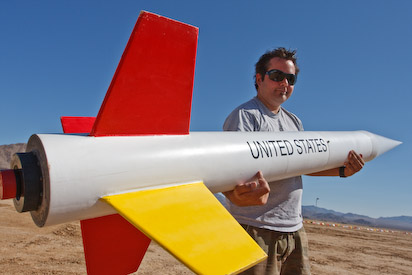
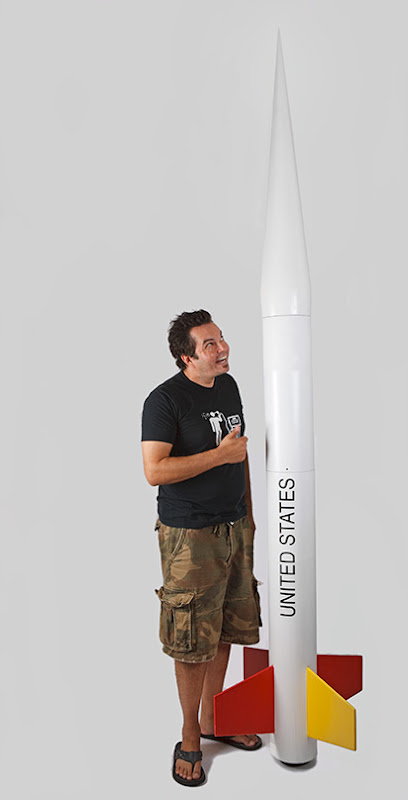
Here I'm trying to hold the almost 10 foot long assembled rocket at 51.1 pounds
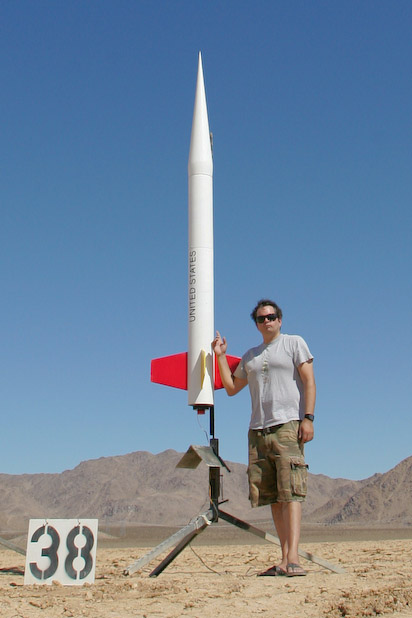
Everything's ready to go. It was a tad windier than I would have preferred but it caused no problems
Jaime set up my Canon 1D mark II at a very low angle with a wide lens. From this vantage point he captured some very cool motor details
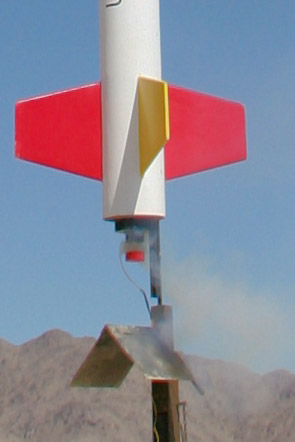
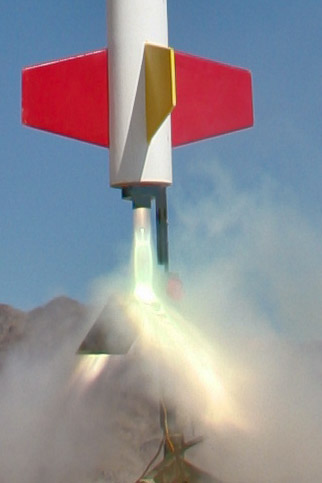
Here's the low angle flight shot. Note the blast debris coming right for the lens. The UV filter was filthy!
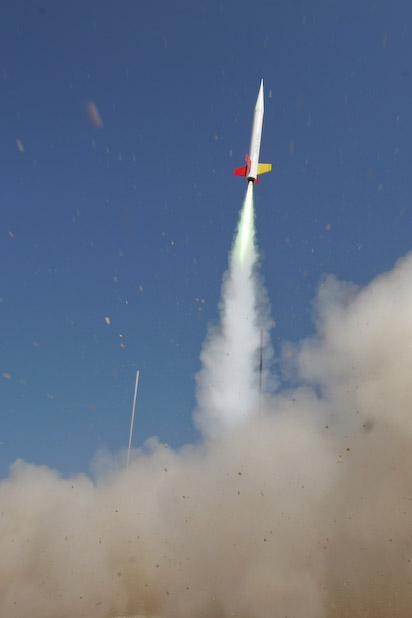
Jaime shot this handheld with the 300 mm f/2.8 lens. I'm surprised how angled the flight appears here because it straightened out for the remainder of the flight. This motor kicks ass and the 51.1 pound beast really bolted into the sky:
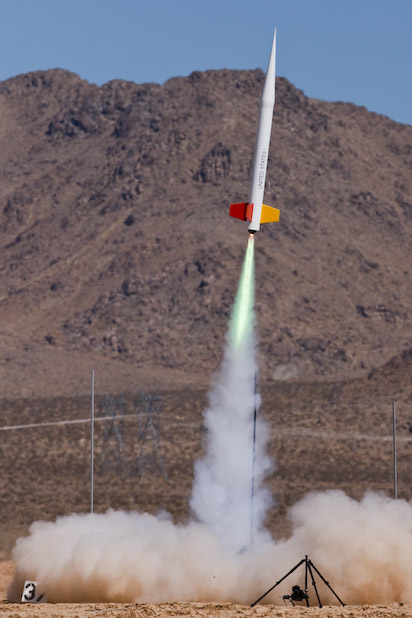
This is a tiny crop of another handheld 300mm shot. You can see the chute has dragged out of the deployment bag:
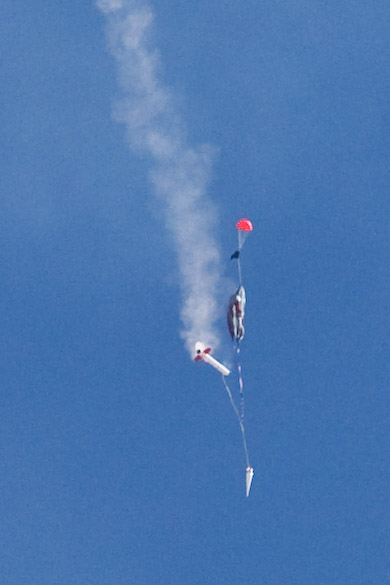
Here the chute has just fully inflated. Everything's looking good.
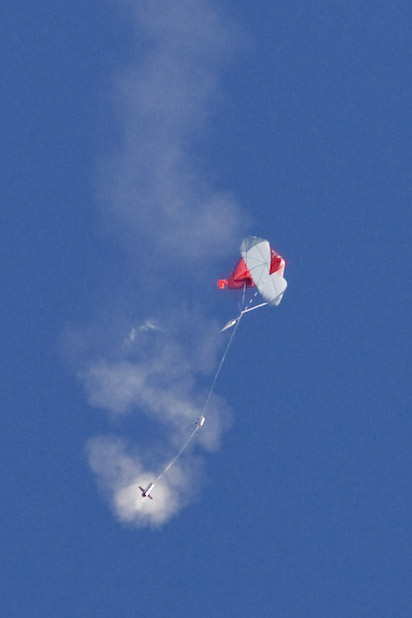
I was quickly walking initially to keep up with the descent. As the rocket decreased in altitude it became obvious that the winds were at lower altitudes so I had to start running to prevent the chute from dragging the rocket along the lakebed after touchdown. Jaime hit the deck to catch this cool shot
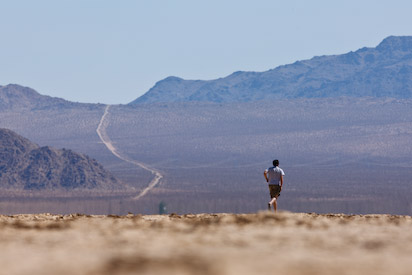
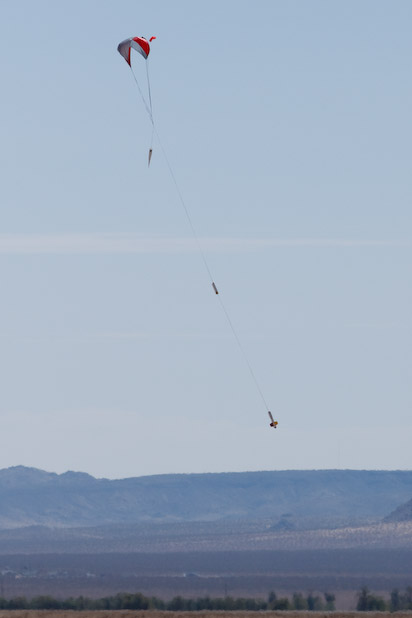
That's 65 feet of Kevlar stringing all the goodies together
Here I've fully inspected the rocket and everything's intact. Victory!
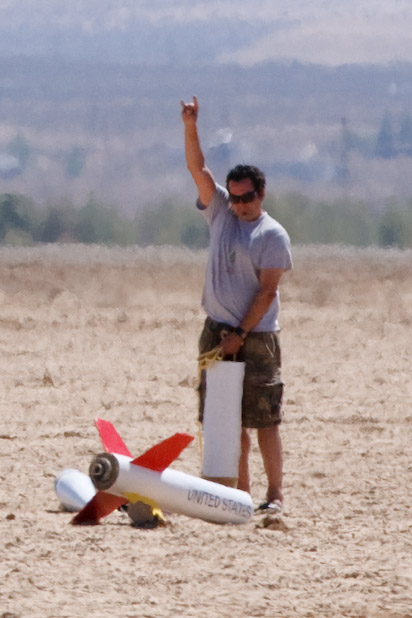
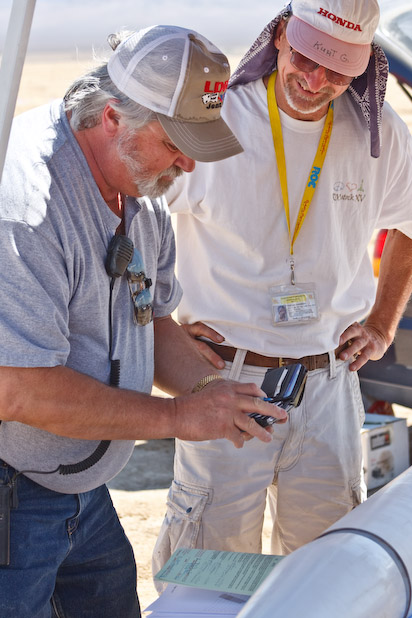
Dok and Kurt signing off on my level 3 paperwork
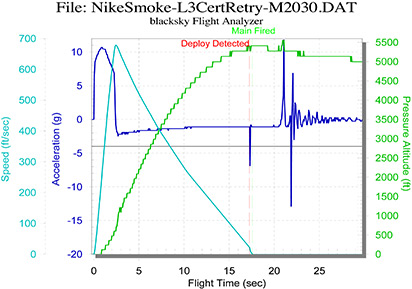
Here's the performance data from the AltAcc2C altimeter
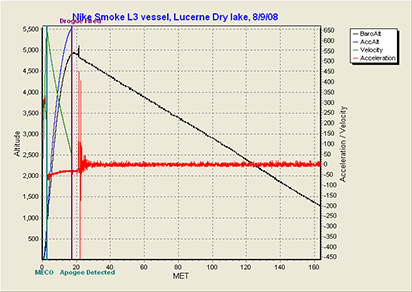
And the data from the ARTS2 altimeter
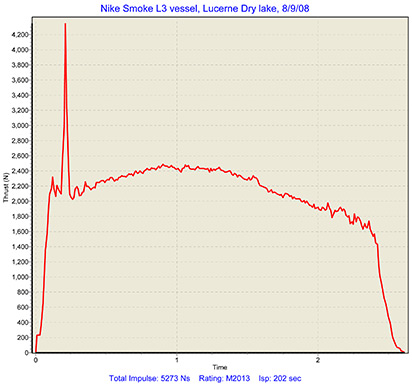
Finally here the motor analysis from the ARTS2. I'm not clear on why that spike occurred early on. Perhaps a propellant chunk shredded off and clogged the nozzle?
I want to thank Jaime for trekking out there with me and shooting photos. I couldn't have done this without his help. Also a big thanks to my TAP members, Dok Hanson and Kurt Gugisberg. I appreciated their kind assistance and patience. Finally thanks to Jack Garabaldi of What's Up Hobbies for lending me his motor casing and for his unparalleled dedication to this hobby.

What's next? Well I spoke to Dok and Kurt and expressed my interest in becoming a Tripoli TAP member for the San Diego club. Right now Tripoli San Diego can only certify level 3 for NAR members so if I became a TAP that would make things easier for everyone. They encouraged me to fly a bunch more M motors, use a wide range of electronics, and to learn hybrid motors. At some point in the future it would be up to Dok and Kurt to recommend me as a TAP member so I'll continue to work on my rocketry "résumé."
Thursday, August 7, 2008

Updated documentation packet

I've completely revamped my documentation packet to reflect all the changes and rebuild details. I've also dropped in this entire blog (minus this entry of course) at the end of the PDF. I think everything's ready to go. Signing off until Saturday with fingers crossed tightly...

All built!

Monday, August 4, 2008

Gap-filled and glassed!

Fiberglassing is becoming less and less painful for me.  I sanded down the primer/paint from the original parts, filled the gaps with epoxy/silica, and applied two wraps of fiberglass.  Both the booster and payload sections went very smoothly.


Tomorrow I'll trim, mask, and prime both sections.  I should be sanding and painting by Wednesday.  I was worried that I'd started too late but this is going really well.  I also need to re-drill the vent holes and static port after painting.  Don't forget!

Sunday, August 3, 2008

Notes on CG/CP, motor selection, and documentation

The repairs to the booster and payload sections will add roughly 9" of extra length overall. This will change both the center of gravity and center of pressure.  I'll measure/recalculate both and update the documentation package prior to Saturday's flight. 

Since I also have to pay full price for the M motor this time (no more L3 cert deals from Aerotech) I'm going to leave my choices open.  I'll do this by generating several Pre-Flight capture forms and matching simulations.  Once I select a motor from Jack at What's Up Hobbies I'll then swap the appropriate pages into my documentation package.

Payload progress

I started by cutting the zippered 8" off the top of the payload section:
After fine tuning via sanding I then cut both coupler and add-on tube to length and employed the same pre-wetting technique as below on the booster:
You can see down into the payload section:
I left 8.5" of non-coupler length inside to accommodate the nose cone shoulder.  Again I verified "squareness" of the new section with the old.  Tomorrow it's gap-filling and fiberglassing.

Electronics switches fixed!

To maximize strength I had planned to drill the switch holes forward of the bulk plate. This would have distanced them from the buckle-susceptible region of the payload section aft of the bulkhead near the tube coupler interface.  I then reconsidered and kept it simple since I had strongly reinforced this otherwise relatively weak region.  You can see that I drilled two holes 120˚ from the vent hole and pushed the switches into them:
Since I was able to find an AltAcc2C altimeter I plan to pull the timer.  As a result I soldered a female power switch connector for the AltAcc (above in rust red).  I'll connect this switch to the board first then slide it in further to attach the switch leads to the ARTS2 altimeter.  I test fit everything before committing to solder and I also put a drop of CA adhesive on each switch hole.  This should keep them from twisting when I'm arming them.  NO MORE HORIZONTAL ARMING REQUIRED!!  :)

Booster progress

I spent most of my Sunday working on repairs.  This entry shows that I sanded the new length of phenolic tubing to fit nicely.  I also had to cut the coupler to 10" from 12" to fit the payload coupler.  I sanded all the parts to be adhered (to improve grip) and mixed up a batch of epoxy.  I took a foam paint brush and coated all key surfaces to ensure good wetting and adhesion.  Finally I twisted/fitted the parts together then taped them up to cure since there were some odd corners that might have otherwise separated during curing:
This shot shows the cured booster with the tape removed:I should also mention that I used a ruler to verify that the new parts were in-line with the old.  I don't want any wiggles or curves during flight.  I'll gap-fill tomorrow then it's on to fiberglassing.

Friday, August 1, 2008

The rebuild commences...

Alright so I've reserved an SUV from Budget for August 8th/9th so I'm feeling the pressure to get these repairs done.  Tonight went really well.  I had started last month by simulating cut lengths using Illustrator.  When I was comfortable with these lenghts I then began with the damaged booster section and marked it all up using a ruler, a tape measure, and an alignment guide.  After marking out the zippered areas I put on a reinforced cutting blade on the Dremel tool and carefully cut out the detritus. This first shot is zoomed out to show the scale of these cuts:
This second is zoomed in to show the markings and cuts:
Finally I marked up a 7.5" phenolic tube with the matching male part to patch this damage. This third shot shows the coupler (not yet trimmed to length) inside the cut area:
Finally this last shots shows how well the parts will mate up.  I need to do some fine tuning but this first phase of repair exceeded my accuracy expectations!:
I'll fine-tune these parts tomorrow night and start on the payload section.  I'm pretty tired now so peace out.

More prep pix from my first attempt

I finally pulled a disc of images that Kristine shot while Doug and I were setting up.  This first shows one of about 20 trips we took back and forth getting everything checked off:
The second is Doug and I setting the rail guides into the rail and setting up the electronics (including my mistake of arming the electronics horizontally!!):
Finally we're examining the setup prior to backing off and firing the beast:
Thanks for documenting, Kristine!